Your cart is currently empty!
Oil painting is an incredible medium for expressing creativity, and if you’re a beginner, starting with a simple subject like flowers can be an excellent way to ease into the art form. In this blog, we’ll guide you through the essential steps to create a beautiful floral oil painting, from how to get started, basic color mixing, to the techniques you need to know. Whether you’re an absolute beginner or someone wanting to refresh their skills, this simple guide will help you build a strong foundation.
Step 1: Gather Your Materials
Before you begin painting, make sure you have the right materials at hand:
- Oil Paints: Basic colors such as Titanium White, Cadmium Red, Cadmium Yellow, Ultramarine Blue, and Burnt Sienna will allow you to create a wide range of colors.
- Brushes: Start with a few flat and round brushes in various sizes. Flat brushes are great for broad strokes, while round brushes are better for detail work.
- Canvas or Canvas Board: Choose a medium or small-sized canvas for your first floral painting.
- Palette: You’ll need a mixing palette for blending your colors.
- Linseed Oil or Medium: Use linseed oil to thin your paint and control the texture.
- Palette Knife: Useful for mixing paint and applying texture to your work.
Step 2: Sketch the Basic Shape of Your Flower
Before diving into the paint, it’s important to sketch your flower on the canvas. Use a light pencil or charcoal to outline the general shape and size of your flower. You don’t need to focus on intricate details at this stage; just a rough outline will suffice.
- Simple flowers like daisies or tulips are a good choice for beginners. You can start by sketching a basic circle for the flower head and elongated ovals for petals. This will serve as the foundation for your painting.
Step 3: Mix Your Colors
One of the key aspects of oil painting is understanding color mixing. Here’s a simple guide to get you started with basic colors for a floral oil painting:
- Reds & Pinks: Mix Cadmium Red with a bit of Titanium White for lighter, more vibrant pinks, or mix with Burnt Sienna for a deeper, more muted red.
- Yellows: Use Cadmium Yellow for bright yellows or mix with a little Cadmium Red to make a warmer yellow.
- Greens: For leaves and stems, mix Cadmium Yellow with Ultramarine Blue or Viridian Green for a natural, earthy green. Adding a bit of Burnt Sienna can give you a darker, richer green.
- Blues: Ultramarine Blue is great for both mixing with other colors to create a range of shades and for creating the background or any blue-toned flowers.
Remember, oil paints can take a while to dry, so take your time and experiment with blending your colors on the canvas to achieve the exact hue you want.
Step 4: Apply the First Layer – Block In the Shapes
Once you have your basic colors ready, it’s time to start applying paint to the canvas. Start with a thin layer to block in the main shapes of the flower. This first layer, called an underpainting, will act as a base for your final layers.
- Use a light application of paint to outline the petals, leaves, and the flower center.
- Focus on getting the shapes and colors in place rather than details at this stage.
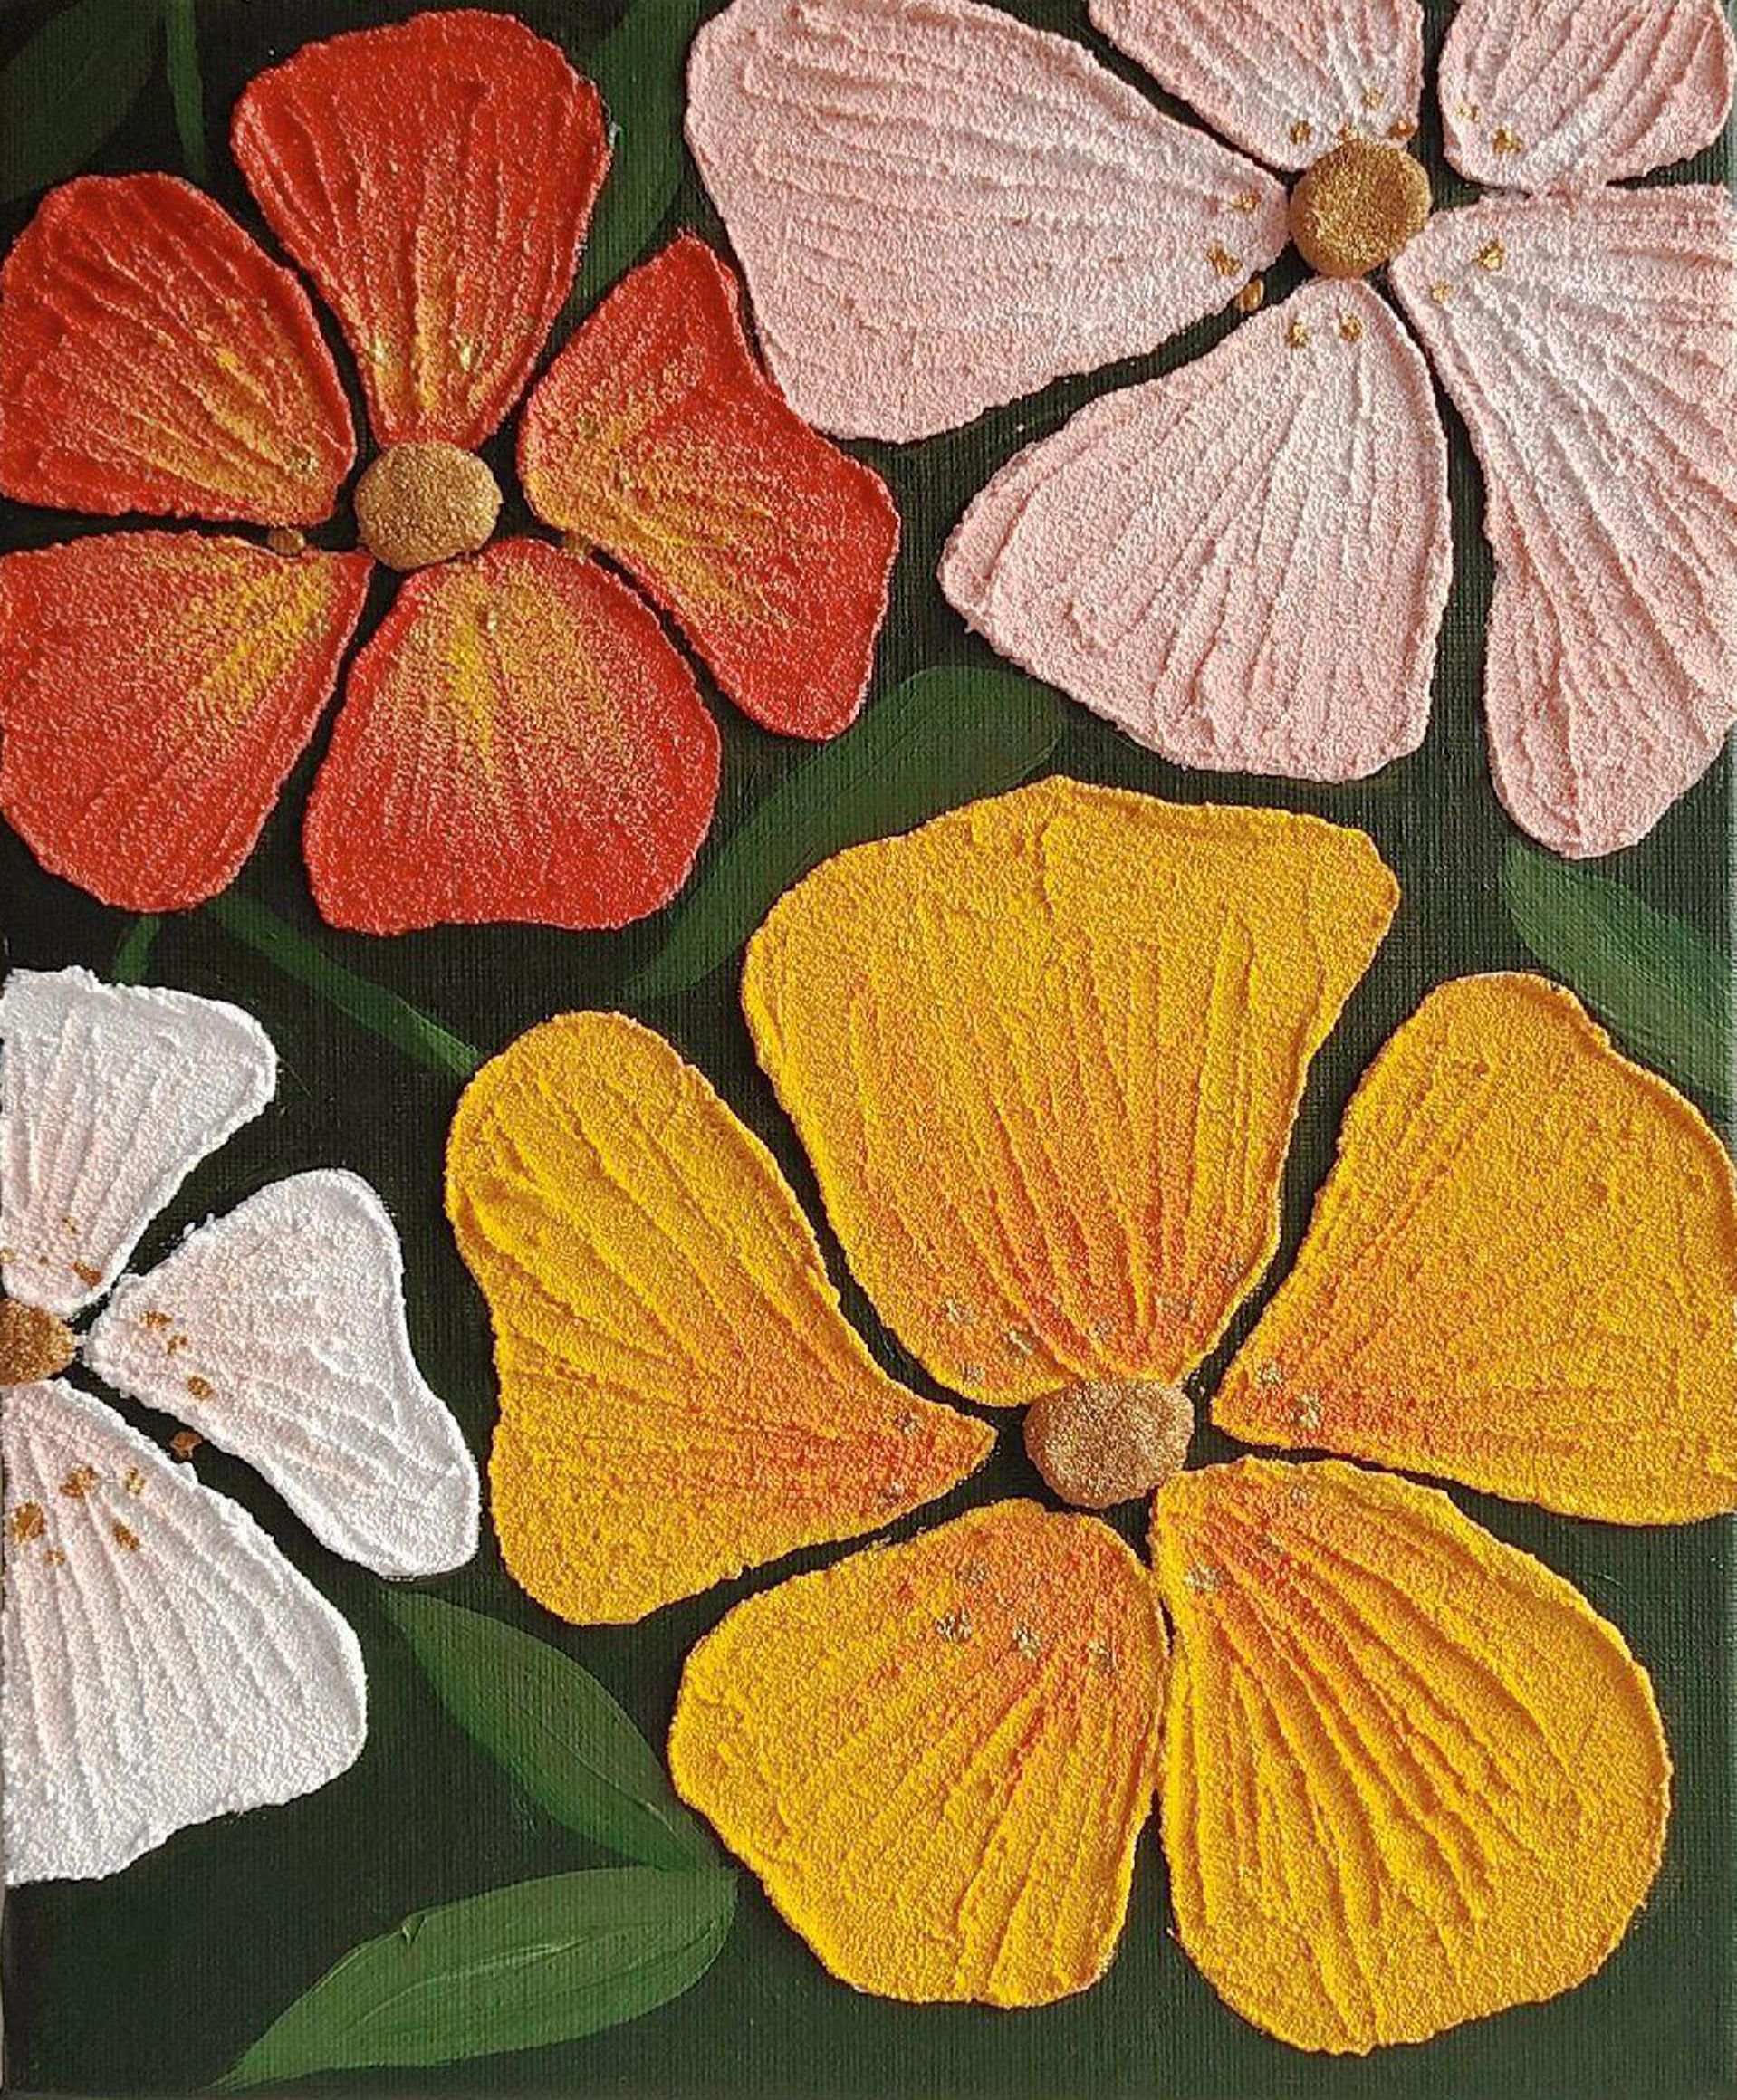
Step 5: Layering and Adding Depth
After your first layer has dried a little, you can begin adding layers of paint to build depth and dimension. This technique is known as glazing.
- Petals: To make the petals look realistic, add more layers of color, starting from the darker shades towards the center of the flower and lighter shades on the outer edges.
- Shadows and Highlights: Pay attention to light and shadow. Mix Titanium White with a touch of Cadmium Yellow for bright highlights on the petals and use Ultramarine Blue or Burnt Umber to deepen the shadows.
- Leaves and Stems: For the leaves, you can use a darker green mix, applying more paint along the edges to make them stand out.
Keep layering until you achieve the level of depth and contrast you’re looking for. You can also use a palette knife to add texture to the petals, making them appear more three-dimensional.
Step 6: Fine Details and Final Touches
After your layers have dried, go back in with a fine brush to add the finishing details. This is where you can add fine lines and textures to the petals and leaves.
- Petals: Add veins to the petals and enhance the light and shadow areas.
- Flower Center: Use small dots or strokes of yellow and brown to create a realistic flower center.
- Background: Add a soft background around your flower, whether it’s a simple green or blue wash or a more complex pattern, depending on your personal style.
Step 7: Let It Dry and Enjoy!
Once you’ve finished adding all the details, allow your painting to dry completely. Remember that oil paints can take a few days to weeks to dry fully, so be patient. When it’s dry, you can apply a final protective varnish to seal your painting and protect it from dust and damage.
Oil painting can be an incredibly rewarding art form, and by following these basic steps, you can create your own beautiful floral masterpiece. Starting with simple subjects like flowers allows you to build your skills with a manageable subject before moving on to more complex compositions.
Keep practicing, and remember: the more you paint, the more your unique style will emerge!
basic oil painting techniques, beginner oil painting guide, color mixing for oil painting, easy flower oil painting, flower oil painting for beginners, flower oil painting ideas, flower painting oil on canvas, how to oil paint a flower, how to paint flowers in oil, oil painting flowers tutorial, oil painting for beginners, oil painting step by step, simple oil painting